Enter your email below & get quick access to full product demos.
Enter your email below & get quick access to full product demos.
Enter your name and email below to download:
Dominate the Google Maps area of the search results.
×
Error: Contact form not found.
Automations are a powerful part of the CRM module that allow for things to happen without your interaction based on predefined sequences. If you would like to set up logic that says, “if X happens then do Y,” then automations are your solution.
Start 7 Day Free Trial Level up my agency

these are events that when they occur can initiate an automation sequence. Below is a list of some example triggers:

Lists of automated processes that can be performed. You can string together as many actions as you would like in an automation. Below is a list of actions that can be used to perform automated tasks within the system.

these are used with triggers. They allow you to limit a trigger being fired. Imagine you have a trigger that you would like to be fired when a new form submission is submitted but only if it is for a certain company or from a certain value in the zip code field, filters make this possible. Depending on the trigger you will have different options for the filters. You can combine as many filters as you like. When using more than one filter it is necessary for all the filters to be true for the automation to continue.
Within LeadSnap we have different field types. The default zip code field is a text field so when using the zip code field you will have the ability to type in the filter value. If the field type is a text field you can use a comma separated list to include multiple values. In these cases the automation will continue if only one of these values matches an item on your list. If the field type is a drop down box then you will have a selection box for the field value.

Variables allow you to reference dynamic information during your automation. Let’s make an example to be sure this is clear. Perhaps you have a client named Bob and he owns a company called Bob’s roofing. When you create the client user for Bob and assign to the company Bob’s roofing, this information can be available when an automation runs through the use of variables.

To add a variable to a message you can drag and drop the variable into the message box. The variable will be located wherever you have your cursor within the message box field at the time it is dropped into the box.
Download the playbook we have used for dominating the Google Maps Area.
These variables are available when sending a text message or an email. Notice in the image below the three columns for Pre-defined, Company and Custom.
Pre-Defined – these variables come with LeadSnap right out of the box and are composed of common form or lead intake information we feel will be present for most lead opportunities.
Company – this information comes from the company information that you create. When you create the association of a client with a company we can use some of this information.
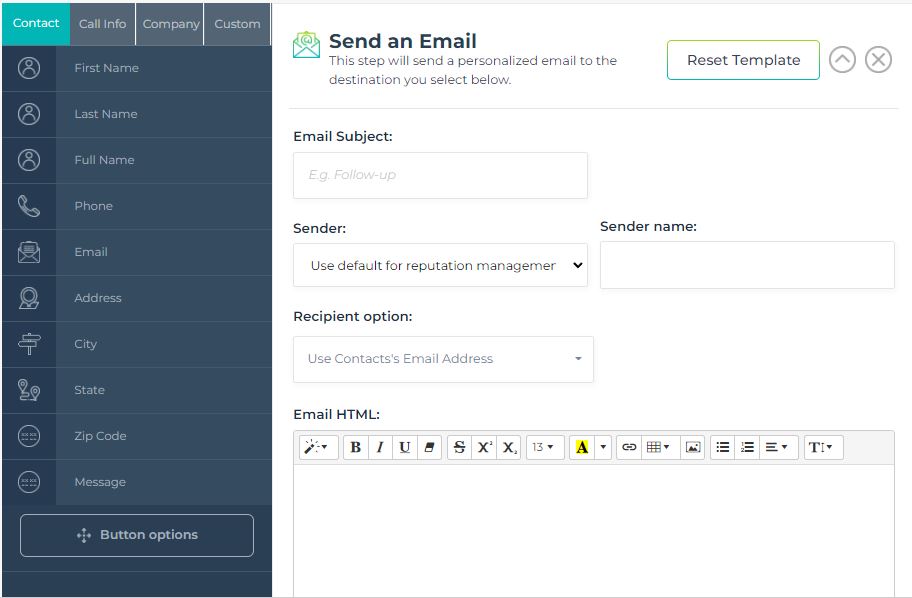
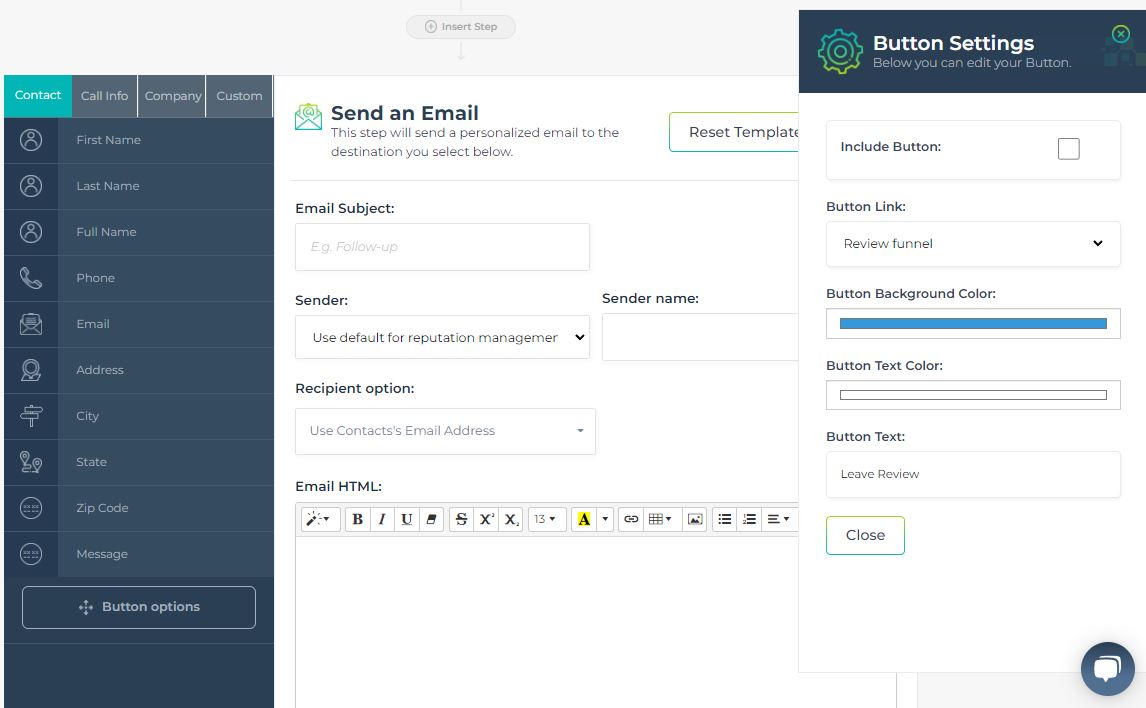
For emails and text messages you have the ability to send a link with your message. For emails these links can be included by using a button. Since text messages can’t contain buttons you are limited to a normal website URL link. If your message is an email then you will see the “button options” shown in the image below.
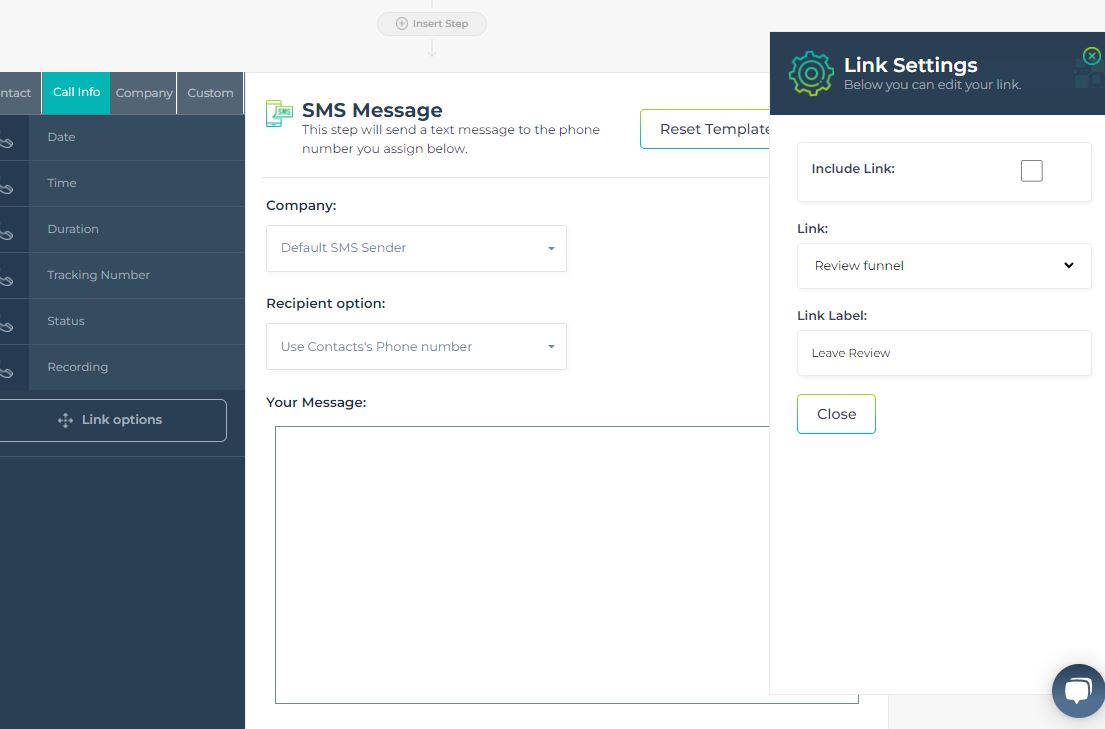
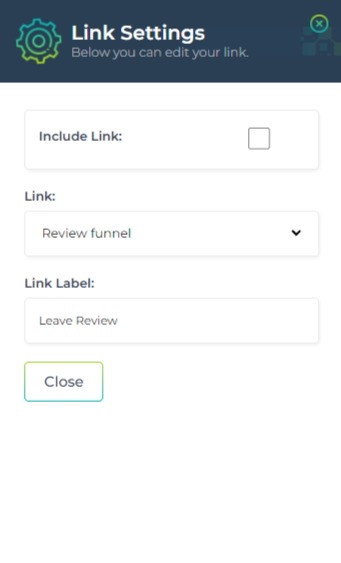
For text messages the functionality is nearly identical but as you can see in the image below, this one says link options.
In either case you can manage the behavior of the button or link through the slide out menu from the right side. This window will be visible by clicking either the button options (email) or link option text messages.
With the text message option you can select to include a link by checking the checkbox. Next you can choose between three options.
Review Funnel – this will send a link to the review funnel that is associated with the lead or contact.
Lead Details – this will send a link to the lead that is associated with the automation.
Other – this allows you to send a link to another URL that you can specify here.
In either case you can manage the behavior of the button or link through the slide out menu from the right side. This window will be visible by clicking either the button options (email) or link option text messages.
We have all the same options for links as texting but we have a little more control as we are able to create buttons in emails that we are not able to create in text messages.
Review Funnel – this will send a link to the review funnel that is associated with the lead or contact.
Lead Details – this will send a link to the lead that is associated with the automation.
Other – this allows you to send a link to another URL that you can specify here.
Button Background Color – allows you to select the background color of the button to be used with the link.
Button Text Color – allows you to select the color of the text to be used within the button.
Button Text – allows you to select the actual words or text to be used within the button.
In either case you can manage the behavior of the button or link through the slide out menu from the right side. This window will be visible by clicking either the button options (email) or link option text messages.
To start a new automation, expand the CRM item in the left navigation menu, then select automations.
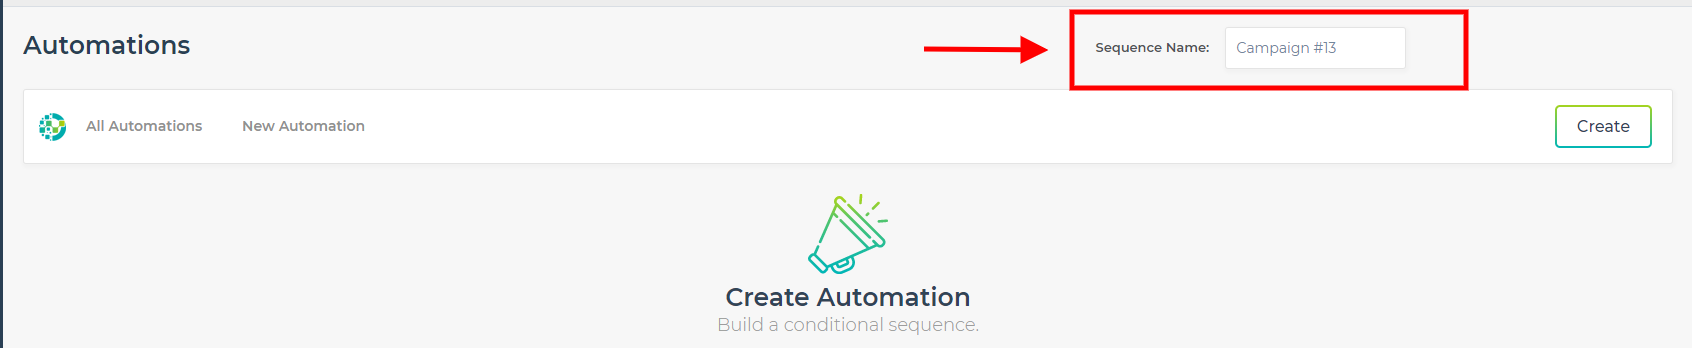
This is the “All Automations” page. Here you will be able to create new automations as well as manage existing ones.
In either case you can manage the behavior of the button or link through the slide out menu from the right side. This window will be visible by clicking either the button options (email) or link option text messages.


To start an automation from the “Contact Details” page, expand the CRM item in the left navigation menu and select contacts. From here, search for the contact you would like to create an automation for and open it up.
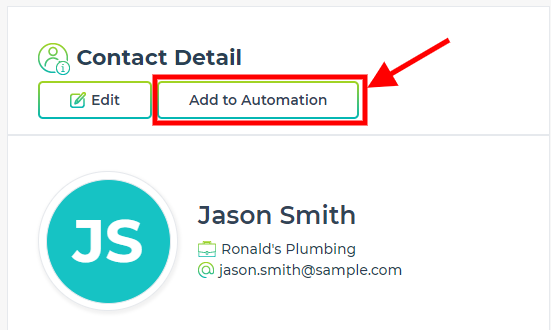
You are now in the “Contact Details” page. To start an automation, select the “Add to Automation” button in the top left hand corner of the page to the right of the “Edit” button.
To start an automation from the “Contact Details” page, expand the CRM item in the left navigation menu and select contacts. From here, search for the contact you would like to create an automation for and open it up.
You are now in the “Contact Details” page. To start an automation, select the “Add to Automation” button in the top left hand corner of the page to the right of the “Edit” button.
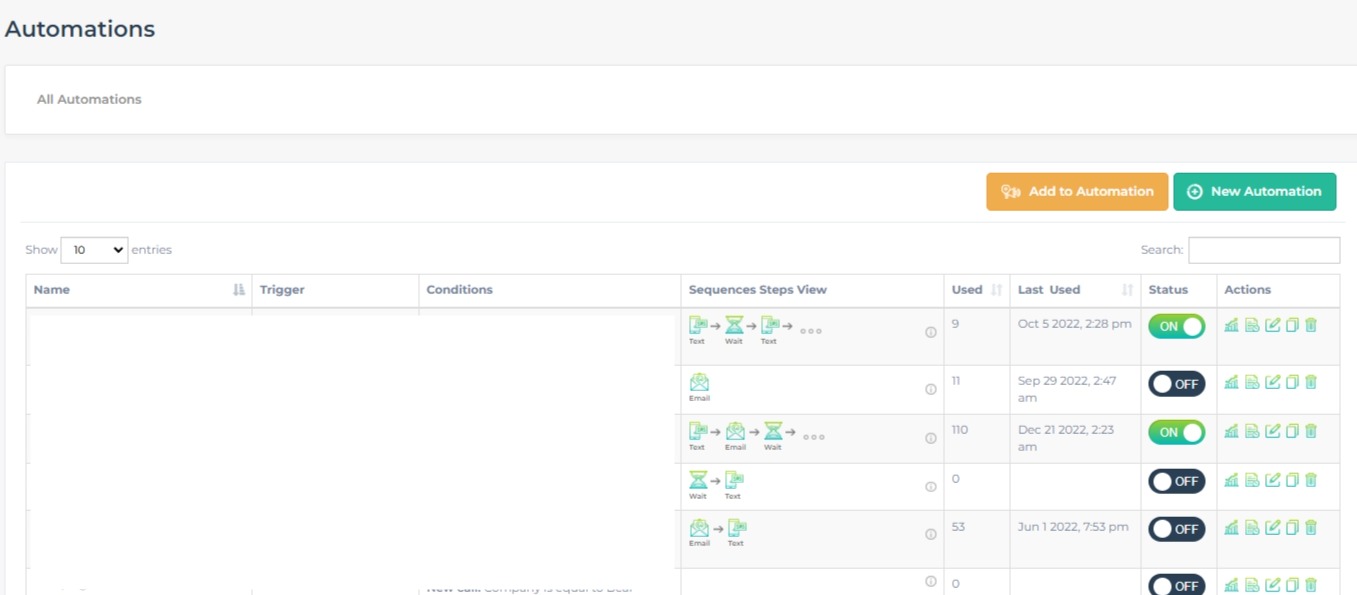
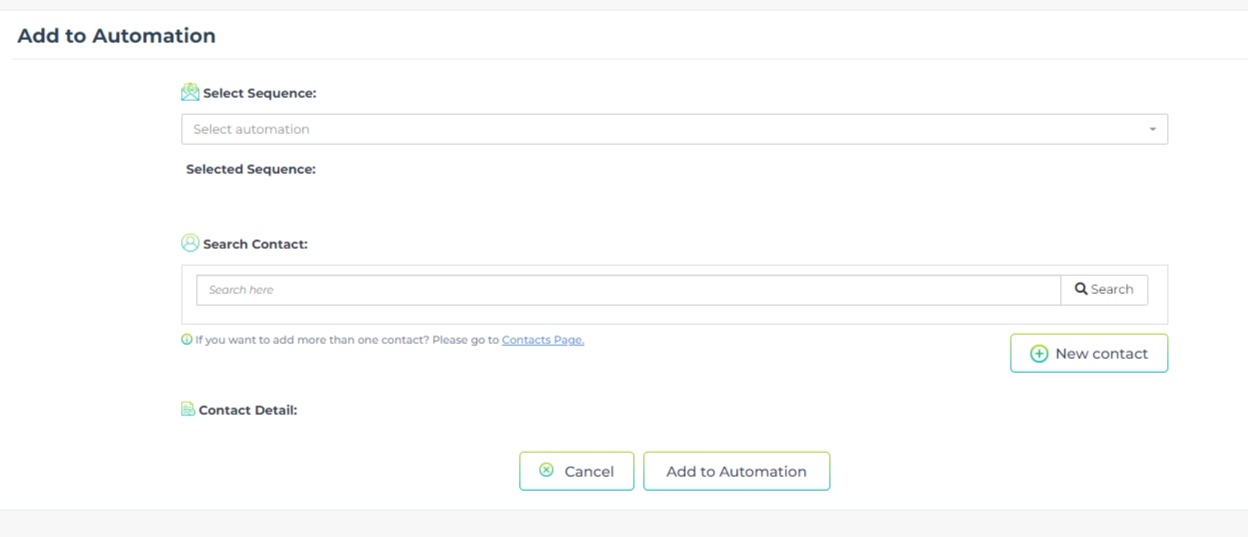
To start an automation from the “All Automations Page” expand the CRM item in the left navigation menu then select automations. You are now in the “All Automations” Page. From here you can create a new automation by clicking the “New Automation” button at the top right hand corner to the right of the “Add to Automation” button.